Solar power systems have gained massive popularity in recent years thanks to the clean and sustainable energy they are providing. When we are talking about the process of setting up a solar power system, it is important to understand the concept of” connecting the solar panel inverter to the battery.” Through this article, we are going to provide you with a comprehensive guide on how to go through the process by using several different methods and addressing the important points you need to take into consideration. Igrowatt inverter is the best company of selling Growatt Hybrid inverter, be in touch with us to get more information.
Connecting the solar panel inverter to the battery: All you need to know
You may ask yourself whether or not you can connect the batteries to the solar system by yourself. The short answer to this question is yes. You won’t need to be a professional to connect the solar panel inverter to the battery. Even though working with electricity can be dangerous, connecting a solar panel inverter to a battery can be a relatively straight process that can easily be performed by homeowners or DIY fans with the help of some basic knowledge and precautions.
However, it is very important to have a good understanding of electrical safety and follow the manufacturer’s instructions carefully so you will be able to avoid any potential hazards.
Method 1: Connecting Solar Panels to the Battery Box
If you choose to connect solar panels to the battery box, follow these steps:
Step 1: Ensure Safety Measures
Before beginning any electrical work, you must always put safety first. Remember to wear appropriate protective gear and disconnect the power source.
Step 2: Determine Proper Wire Size
In order to calculate the appropriate wire size, you must consider panel current, distance, and voltage drop. We recommend consulting an expert or using an online wire sizing calculator for accurate specifications.
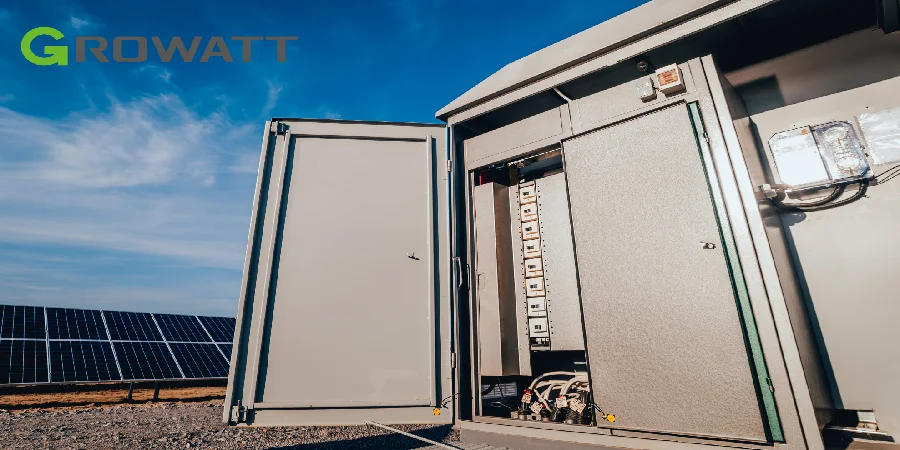
Step 3: Prepare the Battery Box
Mount the battery box in a suitable location, and make sure it is well protected from harsh weather conditions and easily accessible for maintenance.
Step 4: Wire the Solar Panels
In this step, you need to connect the solar panels in series or parallel configurations, depending on your desired voltage or current output. Use appropriately sized cables and connectors to maintain efficiency and reduce energy losses.
Step 5: Connect the Solar Panels to the Battery Box
Run the cables from the solar panels to the battery box and attach them securely. Make sure they are proper polarity connections and use suitable fusing or circuit protection devices to safeguard against electrical faults.
Method 2: Wiring Solar Panel to the Battery
Suppose you choose to go through the process of directly connecting the solar panel to the battery. It means that you need to go through the following steps:
Step 1: Configure the Solar Panels
The first step is to configure the solar panels to the desired voltage, usually within the recommended range for your battery type.
Step 2: Confirming the Battery State
Check the battery’s state of charge and ensure it is suitable for connecting the solar panel directly without causing overcharging or damage.
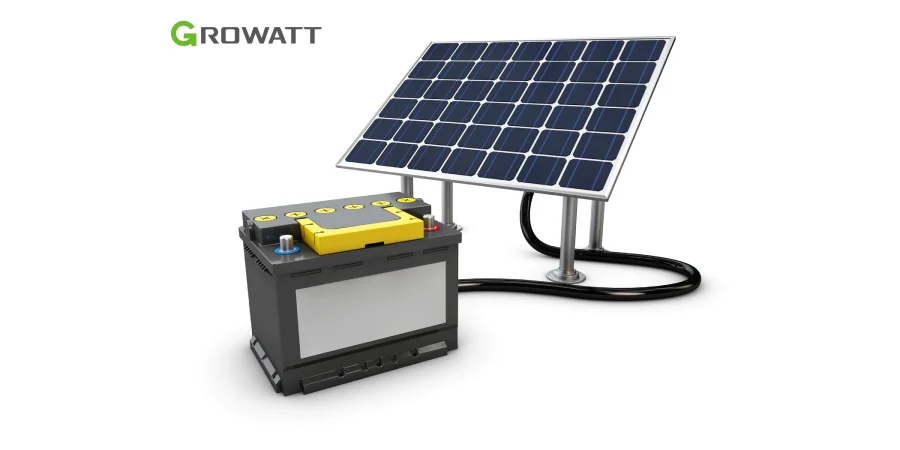
Step 3: Connect the Solar Panel
Connect the positive and negative terminals of the solar panel to the corresponding terminals on the battery using appropriate connectors or a charge controller.
Step 4: Monitoring the Charging Process
Monitor the charging process so that you can avoid overcharging the battery. Use devices like charge controllers to regulate the charging process effectively.
Method 3: Connecting Solar Panel to the Leisure Battery
If case you choose to connect a solar panel to a leisure battery, you must consider the following steps:
Step 1: Assess Power Needs
In the first step, you need to determine the power requirements for your specific leisure battery application. This will help you gauge the size and number of solar panels needed.
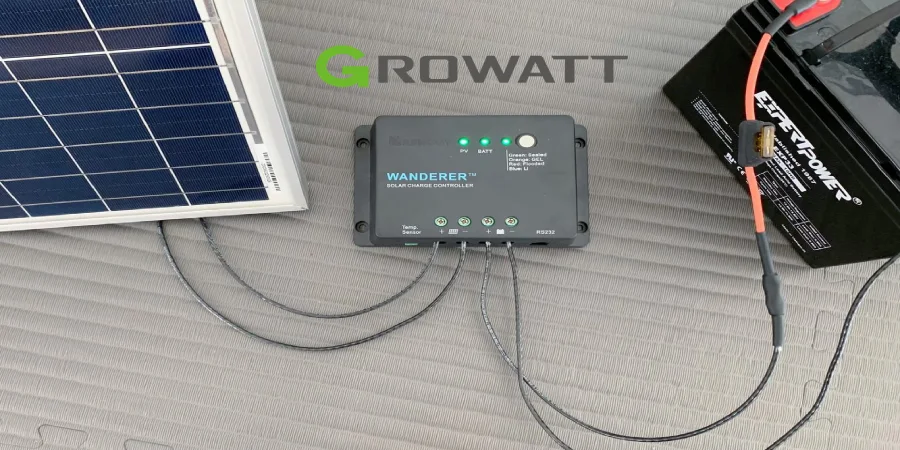
Step 2: Set Up a Charge Controller
By installing a suitable charge controller, you can regulate and control the charging process effectively. This device makes sure that the battery receives the right amount of charge, which prevents overcharging or damage.
Step 3: Connect the Solar Panel to the Charge Controller
The next step is to attach the solar panel’s positive and negative terminals to the corresponding terminals on the charge controller. Use appropriate-sized cables in order to minimize energy losses.
Step 4: Connect the Leisure Battery to the Charge Controller
Now, it’s time to connect the leisure battery to the charge controller by following the manufacturer’s guidelines. Remember to make sure of the proper polarity and securely connect the cables.
Essential equipment for connecting solar panel inverter to battery
Before attempting to do the connection process, you must make sure that you have gathered all the necessary information, tools, and equipment, which includes appropriate safety gear like insulated gloves, safety glasses, and an insulated wrench. After that, you must choose one of the three methods mentioned below.
On the other hand, it is highly recommended to consult with a professional or an electrician. If you have any doubts about this process, make sure to have a safe and efficient connection between the solar panel inverter and the chosen battery.
Note: Keep in mind that the methods we are going to talk about are general guidelines and may slightly differ based on the specific solar panel, battery, and inverter you are using. Remember to always consult the equipment’s user manual or seek out professional advice for more accurate and tailored instructions. To get more information about growatt off grid inverter price check our website.
Materials
- Solar Panel
- Battery
- Charge Controller
- Inverters
- Connectors
Warning: never connect a solar panel to a battery without a charge controller.
Types of Charge Controllers and Their Benefits
| Type of Charge Controller | Pros | Cons |
| PWM (Pulse Width Modulation) | Cost-effective, simple to use, suitable for small systems | Less efficient compared to MPPT |
| MPPT (Maximum PowerPoint Tracking) | Highly efficient, great for larger systems, maximizes energy harvest | More expensive, complex to set up |
Can I connect the solar panel directly to the battery?
Many people wonder if it is technically possible to connect a solar panel directly to a battery without any intermediate parts. Even though it may seem like a simple solution, it is commonly not recommended by experts.
If you choose to connect the solar panel directly to a battery, it may result in overcharging or damage to the battery because of the inconsistent voltage levels. Solar panels produce an unstable output voltage, and batteries need a stable charge to operate optimally.
If you want to make sure you have proper functioning and longevity of the battery, it is recommended by experts to use a charge controller between the solar panel and the battery. A charge controller is the device responsible for regulating the voltage and current that is flowing from the solar panel to the battery and preventing overcharging or other potential issues. This device acts as a safeguard by optimizing the charging process in addition to protecting the battery from damage, making sure that there is a reliable and efficient flow of power.
In addition to all we talked about before, there are other advantages, such as temperature compensation and battery protection features. Some charge controllers provide users with advanced features, like Maximum PowerPoint Tracking (MPPT), which allows for further optimization of power conversion. Finally, even though it may be tempting to directly connect the solar panel to a battery, it is recommended to use a charge controller.
The best shopping center for gravitate inverter
As we have discussed, connecting the solar panel inverter to the battery needs careful consideration and attention to detail. If you follow the step-by-step guide provided in this article, you can successfully connect your solar panels to the battery while making certain of safety and optimal performance. Remember to always consult professionals or refer to the manufacturer guidelines for more specified details on your chosen equipment.
After all, we have said above, if you decide to buy a Growatt inverter be in touch with us.
